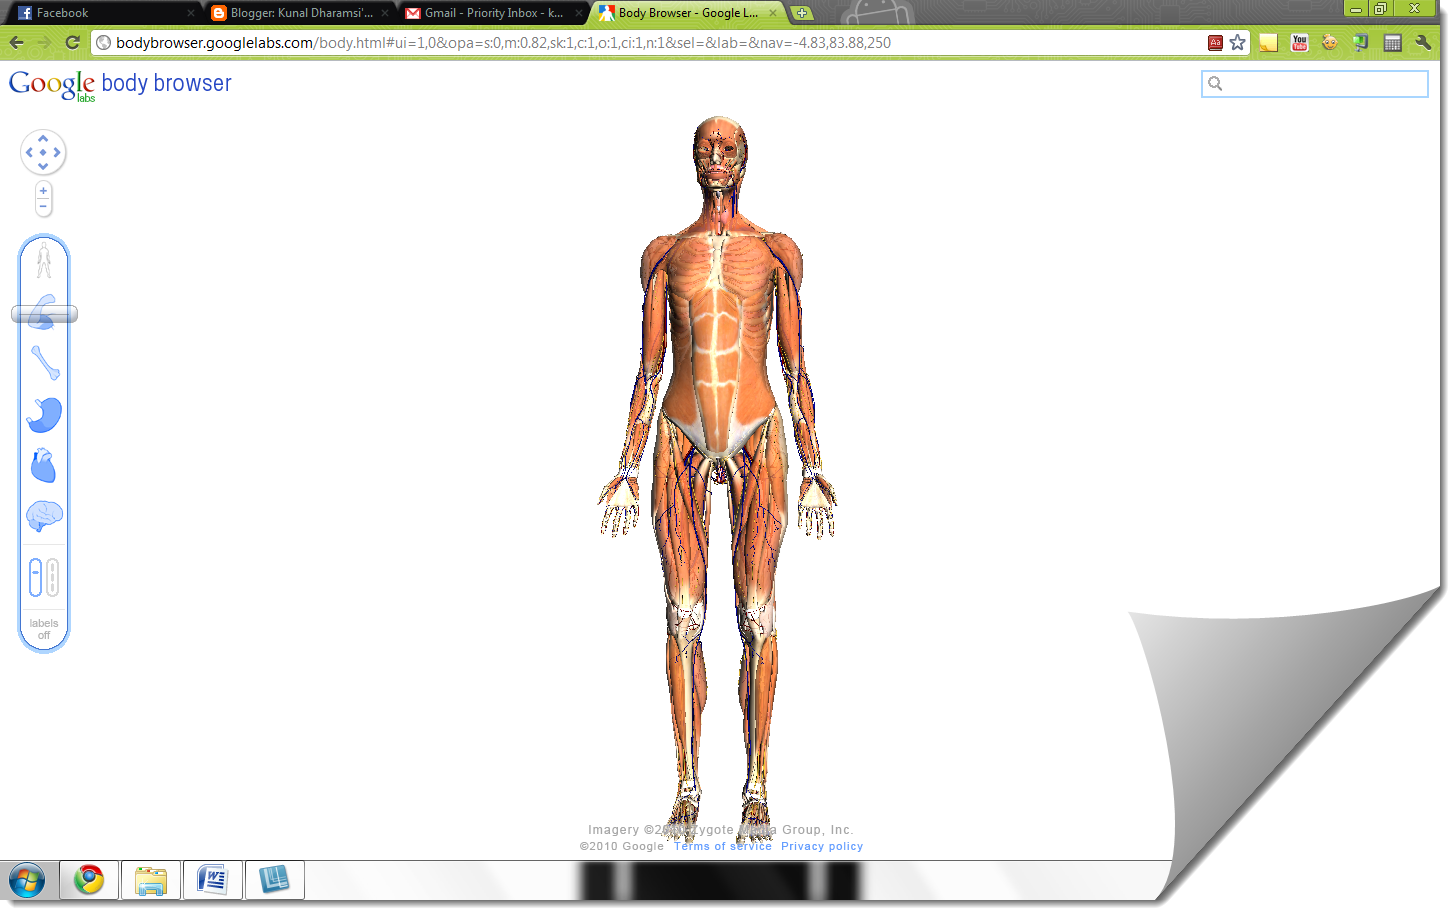
Google has recently demonstrated Body Browser, a WebGL application that lets you explore the human body just like you explore the world using Google Earth! Interesting, isn't it?
Let's Check it out!
WebGL is a context of the canvas HTML element which helps to provides a 3D graphics API implemented in a web browser without the use of plug-ins. WebGL is currently under development, and is supported in the latest builds of several browsers.
So, To use Body Browser, you'll need a Web browser with WebGL support. Simply follow these steps to Get a WebGL implementation.

WebGL is available, but not enabled in Chrome 8 (the latest stable version).
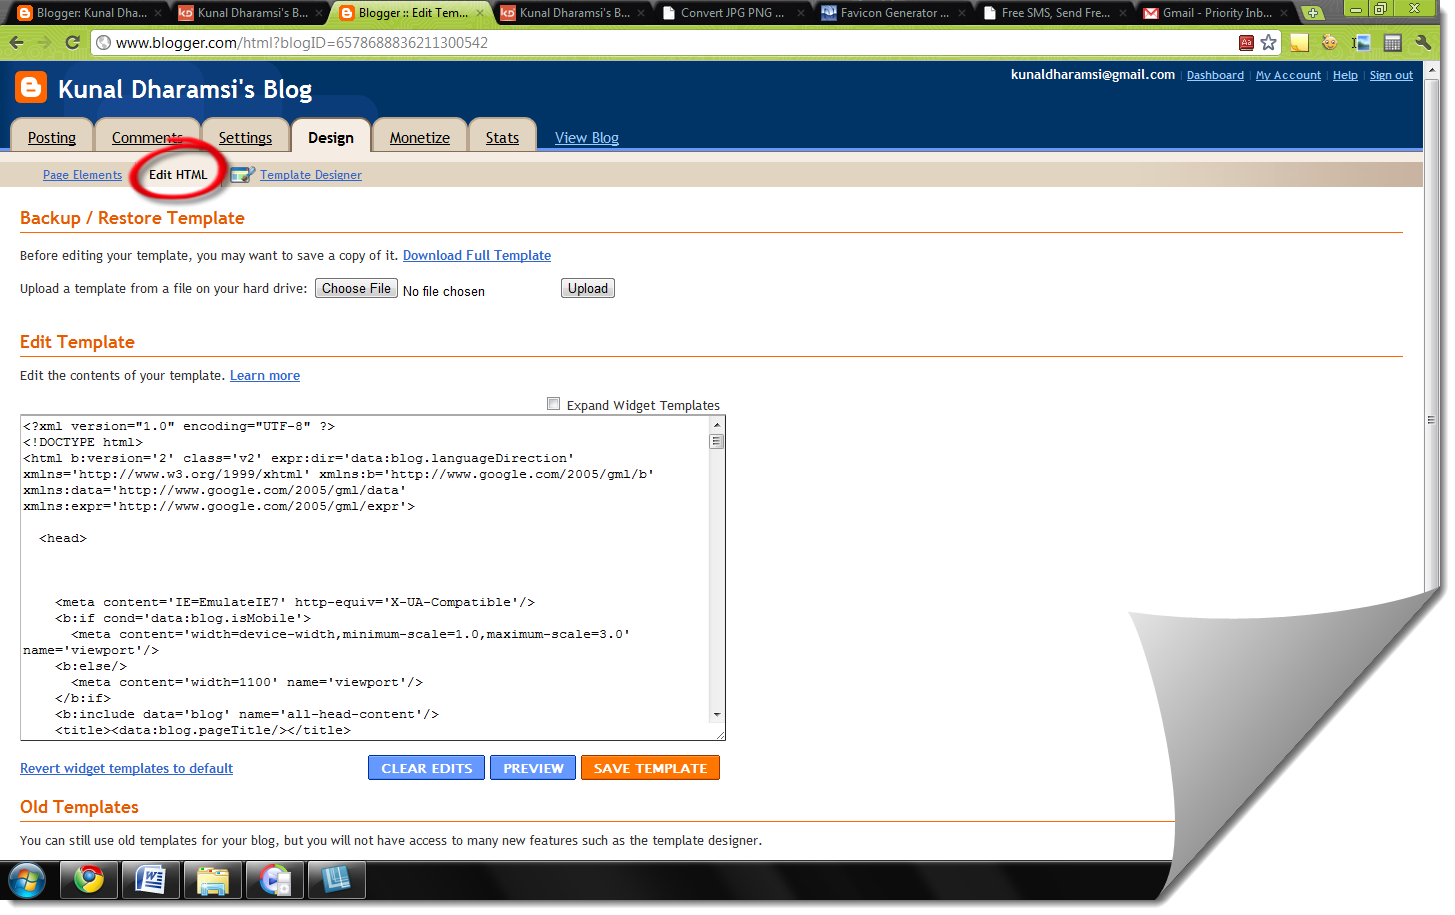
Type about:flags in the address bar, click "Enable" next to "WebGL" and then click on "Restart now".
WebGL come enabled in Chrome 9 Beta, Chrome 9 Dev Channel, Chrome Canary Build and Firefox 4 beta.
 |
| Explore the Human World! |
WebGL is a context of the canvas HTML element which helps to provides a 3D graphics API implemented in a web browser without the use of plug-ins. WebGL is currently under development, and is supported in the latest builds of several browsers.
So, To use Body Browser, you'll need a Web browser with WebGL support. Simply follow these steps to Get a WebGL implementation.

WebGL is available, but not enabled in Chrome 8 (the latest stable version).
Type about:flags in the address bar, click "Enable" next to "WebGL" and then click on "Restart now".
WebGL come enabled in Chrome 9 Beta, Chrome 9 Dev Channel, Chrome Canary Build and Firefox 4 beta.
Now that you have a WebGL implemented browser, you are all set to explore the human world!
You can view through the anatomical layers of human body, zoom in, rotate and navigate through the human body.
You can also share the visual of exact part that you are viewing through the specific link from the address bar. For example, This is the part of the body I am currently viewing...
Enjoy!
Enjoy!